VULTR is one of the best VPS providers today and is currently being chosen by many users in over the world and abroad to build their personal websites or blogs. Not only with GOOD QUALITY , high UPTIME time , but VULTR's VPS is quite cheap , especially, if you are a newbie, you will have the opportunity to own up to 2 months of free VPS at Vultr.
With only $2.5/month , you can own a VPS with a configuration with 20GB SSD, 512GB RAM and 500GB Bandwidth , a pretty cheap price for those who are new to creating websites and blogs. Moreover, VULTR now also has locations in Singapore, Japan, so you will no longer worry about cable breaks happening too often in Vietnam.
I am very satisfied with VULTR after 2 years of using and running my websites because of its high uptime, large bandwidth and overall great support of VULTR. To make it easier for newcomers to buy and use Vultr's VPS, I will detail how to do it as well as a few necessary notes in the section below.
To buy and use VPS at Vultr, you need to prepare the following:
1. Email account , can be Gmail, Outlook…
2. An account ready to pay like Visa, MasterCard or PayPal.
STEP 1: Get Vultr $100 coupon here: https://vultrcoupon.webflow.io
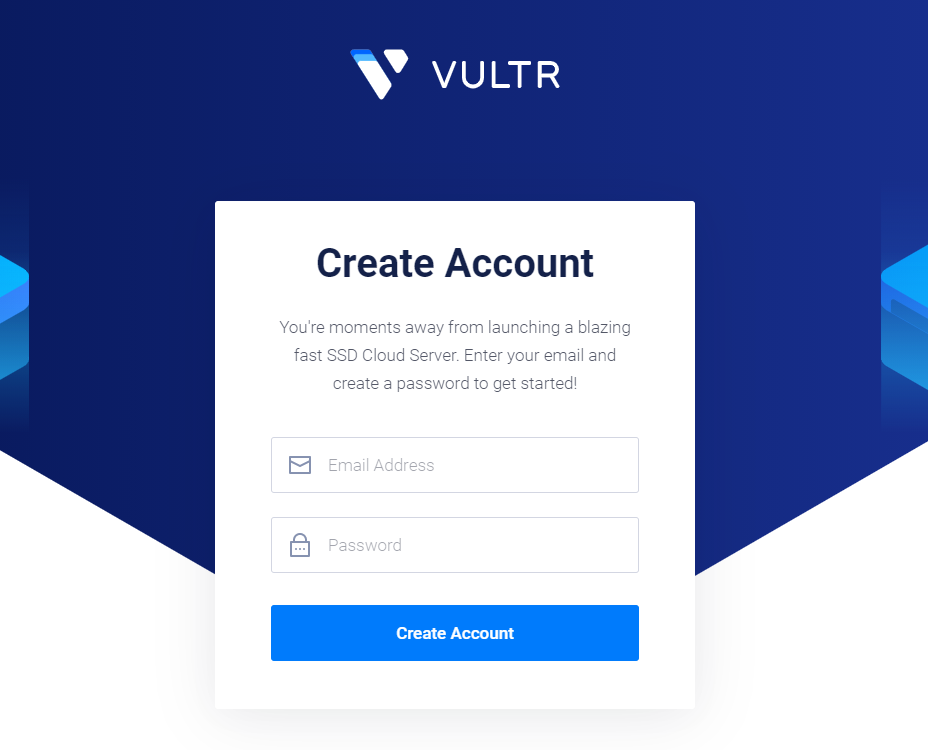
STEP 2: Click the CREATE ACCOUNT button , then proceed to enter the EMAIL address in use and the login PASSWORD .
Click the CREATE ACCOUNT button below again and you have completed the registration for a VULTR account.
STEP 3: Choose a payment method on Vultr
As soon as you have successfully registered, you need to fill in the payment information (Billing) to be able to buy and use VPS. At the main interface when logged in, select the BILLING button .
You will then see three payment methods including CREDIT CARD, PAYPAL AND BITCOIN . In this article, I only use CREDIT CARD payment method. How to enter information, you can refer to below.
In the Credit Card Details section
Finally, select the option “I agree to the Terms of Service” and click the LINK CREDIT CARD button to complete linking the payment card with Vultr.